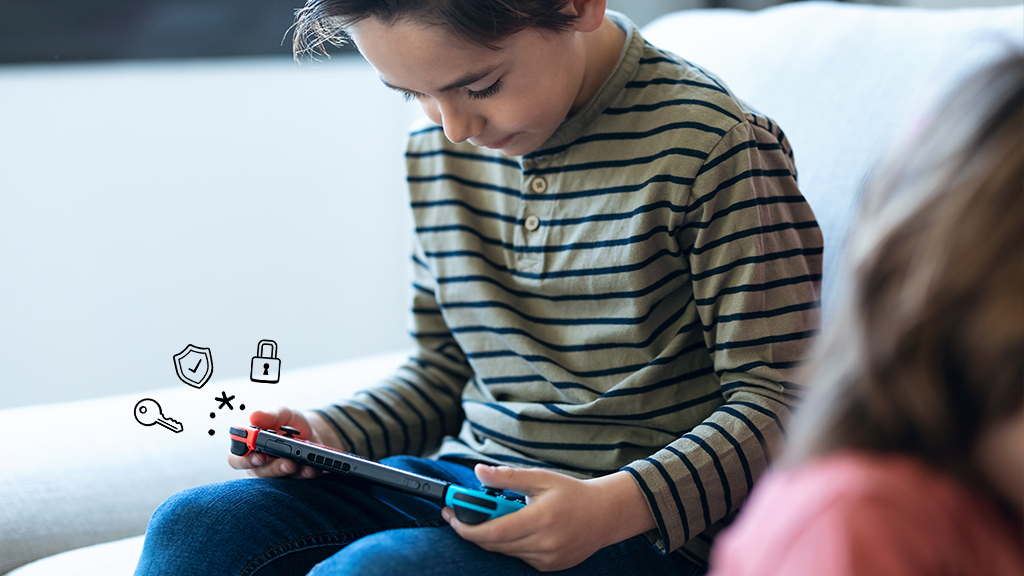
You can’t be everywhere at once. That means you can’t be there for every Mario Kart race or online tournament. There’s an easy solution: parental controls. Setting them up lets you keep an eye on what your kids play and buy, keeping you in the loop—and giving them the space to master those Rainbow Road turns.
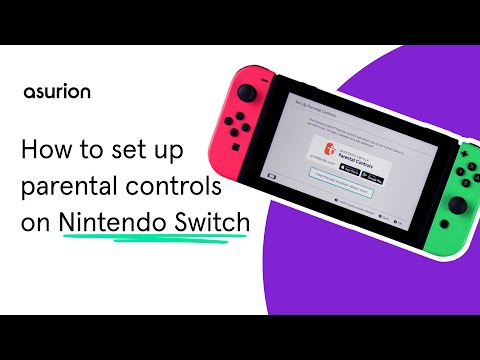
At Asurion, we take care of you—and your tech. From fixing your devices to showing you how to set up your gaming consoles—we've got you covered. Here's how to change parental controls on your Nintendo Switch®.
Control accounts on your console or app
You can change some settings on your Nintendo® console, but we recommend using the app because it lets you do so much more, like setting playtime limits and bedtime alarms, all from the convenience of your phone.
Once you set up parental controls, the same restrictions will apply to everyone who plays on the console. When adjusting your parental control settings, set them with the youngest player in mind.
How to set up Nintendo Switch parental controls on your console
- Select System Settings on the Home menu.
- Scroll down to highlight Parental Controls, then select Parental Controls Settings.
- You’ll see the option to download the Nintendo Switch Parental Controls app for smart devices. Press the X Button, and then select Next to skip setting up the app—we’ll go over how to connect with the app later.
- Select Restriction Level.
- Choose from preset restrictions by age or select Custom Settings to manually adjust the settings. Once the restrictions are set, select Save and then select OK.
- Choose a PIN, then select OK. Enter the PIN again to confirm.

Our experts have seen it all
Sign up for Asurion Home+ and get 24/7 tech support and device protection—all in one plan.
How to set up Nintendo Switch parental controls in the app
Setting up the Nintendo Switch parental controls app takes two steps. Before you can dive into your settings, you’ll have to link your app to your Switch™.
How to link your console to the Nintendo Switch app
- Download the free Nintendo Switch Parental Controls app on your iOS® or Android™ device. Open the app, and select Start.
- Toggle whether you'd like to send diagnostic data for the app, then select OK.
- Tap Sign In / Create Account, and log in to your existing Nintendo account or create a new one. Select Use this account to confirm.
- Select Next. A Registration Code will appear on the screen of your smart device.
- On the Nintendo Switch console, select System Settings from the Home menu.
- Scroll down to highlight Parental Controls.
- Select Parental Controls Settings, then select I have the app installed. What's next?. If you have already set up Parental Controls on the system without using the app: Select Change Settings, enter your PIN, select Use Your Smart Device, then select Yes to verify that you have the Nintendo Switch Parental Controls app.
- Enter the six-digit code. Select OK.
- Select Register.
How to set up parental controls in the Nintendo Switch app
- Select Console Settings. If you have more than one Nintendo Switch linked to the app, tap the + icon to choose the correct system.
- Select each setting you want to change.
- Once you have adjusted the settings, tap Save. The changes will be updated as soon as the console connects to Wi-Fi.
Now that you're in the right place to set up parental controls, we'll walk you through all the cool things you can do.
Set screen time limits for your child
You can set limits on how much your child plays every day right from your phone. Set an alarm to let your child know they are reaching their limit or suspend gameplay in case someone tries to sneak in some extra time.
Limit the games your child can play
Choose from preset categories or set up custom options based on the age of your child. If your kids really love Zelda, but it falls outside the set age limit, “whitelist” it. Doing so allows your child to play certain games without turning off parental controls.
Customize your online settings
Online gaming can come with unseen dangers. Keep your kids safe by editing their settings. With the parental controls app, you can restrict the ability to post screenshots online and limit online features, such as sharing in-game texts or images with other gamers.
Control what your child buys
Put yourself in control of what games your child buys by setting up a Family Group. To get those Nintendo eShop settings to work, all of your accounts have to be grouped together. Here’s how to do so.
Create a Family Group
- Head to the Nintendo Account website, and log in to your account. If you don’t have one, sign up. Your account will become the admin for the entire family group.
- Click Nintendo Account in the upper-left corner of the screen to access your account settings.
- Select Family group.
- Select Add member. From here, you can either invite an existing Nintendo Account or create a new account for your child.
Set up Nintendo eShop Restrictions
- From your Nintendo Account page, select Family group.
- Select the Nintendo Account where you want to manage restrictions.
- Adjust all the settings you want to update, and select Save changes to confirm the change.
Don't let a glitched controller mean game over
The Asurion Home+® protection plan offers peace of mind for all of your eligible home tech, including your favorite gaming systems, for less than $1 per day. From graphical glitches to faulty drives, we cover your video game console and original controller from the unexpected breakdown—no matter where or when you purchased it. Learn more at asurion.com/homeplus/.
