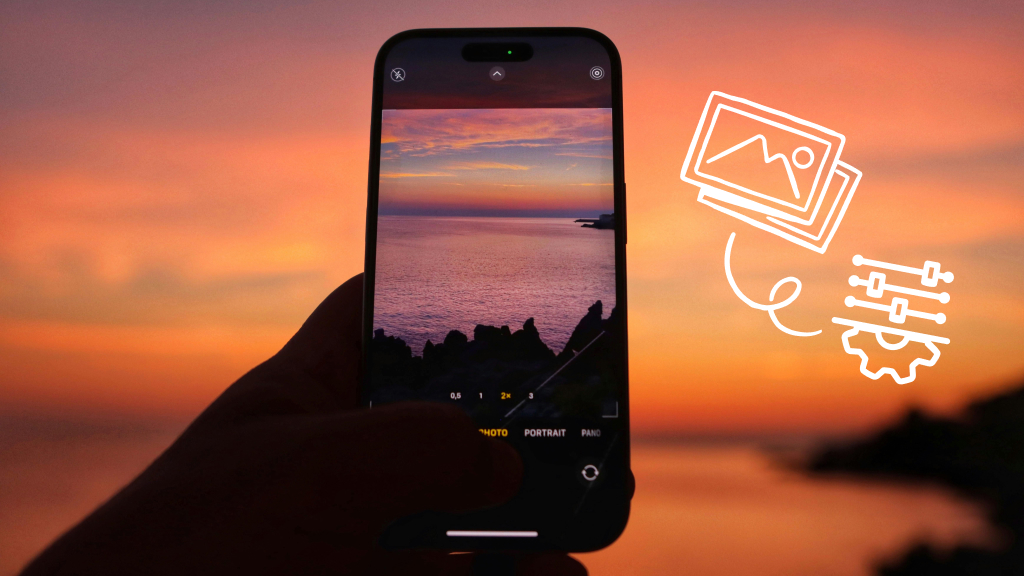
Every year, smartphone cameras get more sophisticated. So it’s no surprise that 92.5% of all photos are now taken on smartphones rather than traditional cameras, according to the photography newsletter, PetaPixel, Want to make the most of your phone photography? We’ll show you how to tap into the best camera settings for iPhone 14 and 15 Pro models.
At Asurion, our experts care for all your tech. If your iPhone camera is broken or you need more photo storage, we can help. Here’s our best iPhone 14 and 15 Pro camera tips.
The importance of camera settings
When you choose your camera settings ahead of time, If you’ll take higher quality images. No one wants to miss a great shot.
Best photography settings for iPhone 14 and 15 Pro
Here are the settings we recommend for capturing the most memorable photos:
Apple ProRAW
If you want to shoot like a pro, consider changing to Apple ProRAW® mode on your iPhone. Pictures shot in raw mode keep all their original data—they won’t be compressed— which lets you work with higher image quality when you edit them later. Keep in mind, raw images contain more megapixels than a format like JPEG. This means they are more detailed and the files are bigger, so they also take up more storage space on your phone. You may need to increase your storage if you use this feature.
The default resolution on your iPhone 14 and 15 Pro is set to 24 Megapixels. Here’s how to change it:
- Open Settings > Camera > Formats.
- Turn on Apple ProRAW or ProRAW & Resolution Control, depending on your model.
- Next to Pro Default, tap ProRAW Max > ProRAW Max (up to 48 MP).
Zoom level
The newer iPhones have improved optical zoom capability— up to 15X on the iPhone 15 Pro Max. To set the maximum zoom level for your iPhone:
- Open Camera.
- When your image appears on the screen, touch and hold one of the zoom options at the bottom (2, 3, etc.). When the wheel appears, you can slide it to adjust the zoom further.
Macro Control
To get up-close shots in sharper focus, try Macro Control, a feature that automatically kicks in when you’re extremely close to your subject. Here’s how to set it up:
- Open the Camera app, then select Photo mode.
- Get close to your subject—as close as 2 centimeters.
- The camera will automatically switch to the built-in Ultra Wide camera. When it’s on, you’ll see a yellow flower icon on the camera app screen.
- Tap the shutter (white circle icon) button to take a photo.

Tech help at your fingertips
Get your tech questions answered now with our live expert support.
Focus and exposure
Your iPhone 14 or 15 Pro camera automatically sets the focus and exposure—the amount of light that your camera lets in— before you snap a photo. If you want to adjust and save the exposure, follow these steps:
- Open Camera.
- When you see the image on your screen, tap the up arrow at the top of your screen, then tap the plus/minus icon and move the slider to adjust the exposure.
- The exposure will lock until the next time you open the Camera app.
- To save it, open Settings > Camera > Preserve Settings.
- Turn on Exposure Adjustment.
Burst mode
To capture action shots with your iPhone, like a horse running in a field, try Burst mode, which works with both front- and rear-facing cameras. Here’s how:
- Open Camera.
- When the image appears on your screen, tap and slide the Shutter button to the left, while holding it down.
- When you’re down, release the button. You’ll see a counter of the number of photos you shot in the Shutter button circle.
Night mode
To capture detail and brighten your photos in low-light settings beyond what your iPhone camera does automatically, you can manually adjust Night mode on your device.
Here’s what to do:
- Open Camera.
- If your surroundings are dark, Night mode turns on automatically.
- Tap the up arrow, then tap the half moon icon at the bottom of the screen.
- Drag the slider left or right to choose between the Auto and Max timers.
- Choose the Max setting for the longest exposure time. (This setting will be saved for your next Night mode shot.)
Tap the Shutter button to take your picture. If you or your subject is moving, grid lines will appear in your frame. You can align them to help reduce motion and get a better picture.
Preserve settings
After you set up your camera settings for the best quality photos, you can save them so they don’t reset the next time you use your camera.
Here’s how:
- Open Settings > Camera > Preserve Settings.
- Slide the switch to turn on Camera Mode to save the last camera mode you used, such as Video or Pano.
- Slide the switch to turn on Creative Controls to save the last filter or lighting settings you used.
- Slide the switch to on to save your preferences for the following settings:
- Depth Control
- Macro Control
- Exposure Adjustment
- Night Mode
- Portrait Zoom
- ProRAW and Resolution Control
- Live Photo
Set the Action button to open your Camera app
If you want to be ready to snap a photo in a flash, you can choose your camera as the shortcut on the Action Button on your iPhone. Just follow the steps on how to customize your Action Button.
Looking for more tips? Check out our guide to smartphone photography.
Tried these steps and still need help? We got you. Get your tech problem solved when you call or chat with an expert now.


